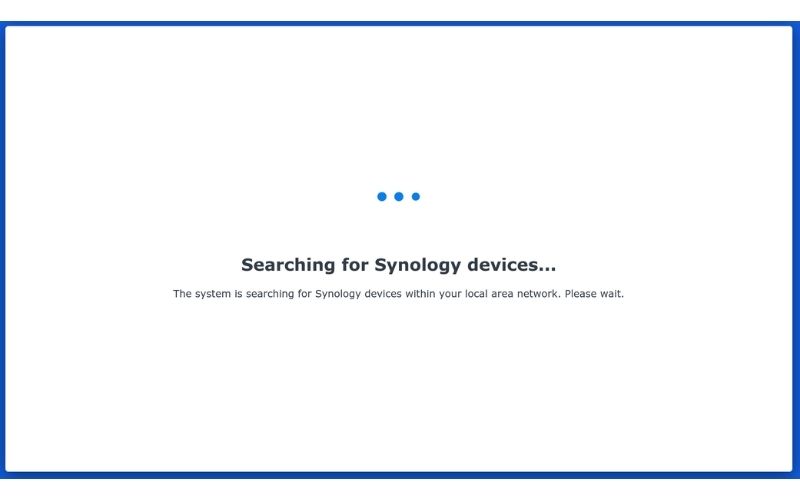
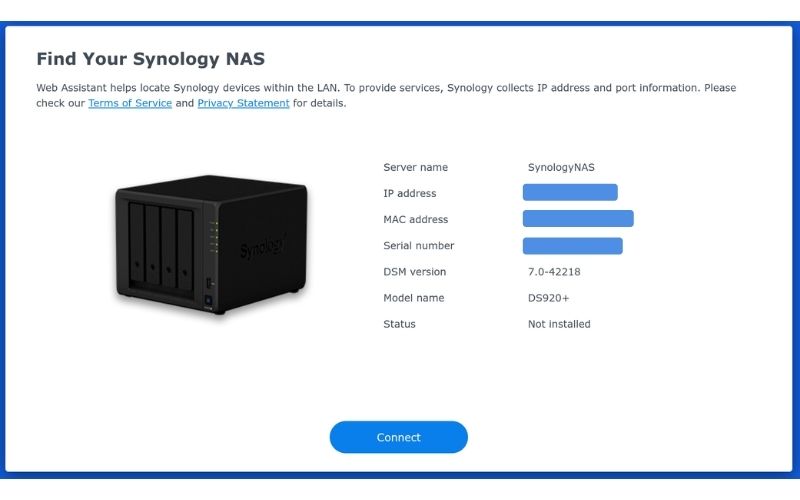
- Type in the browser “find.synology.com” and wait for it to find your Synology NAS.
2. Click on “Connect”.
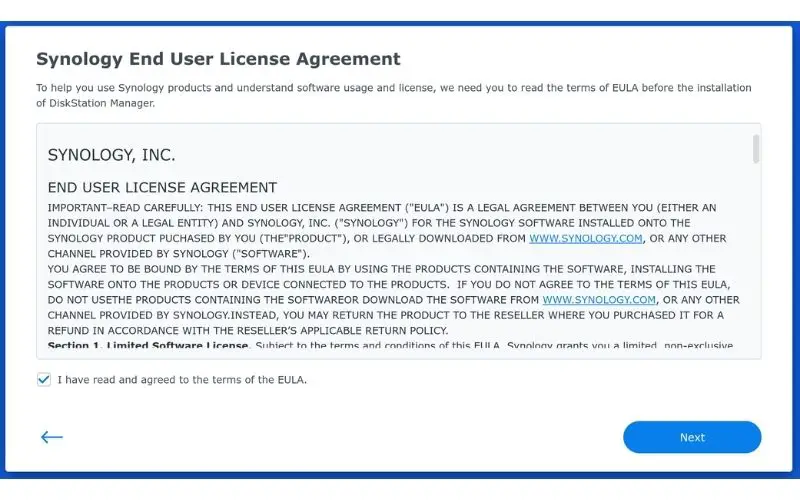
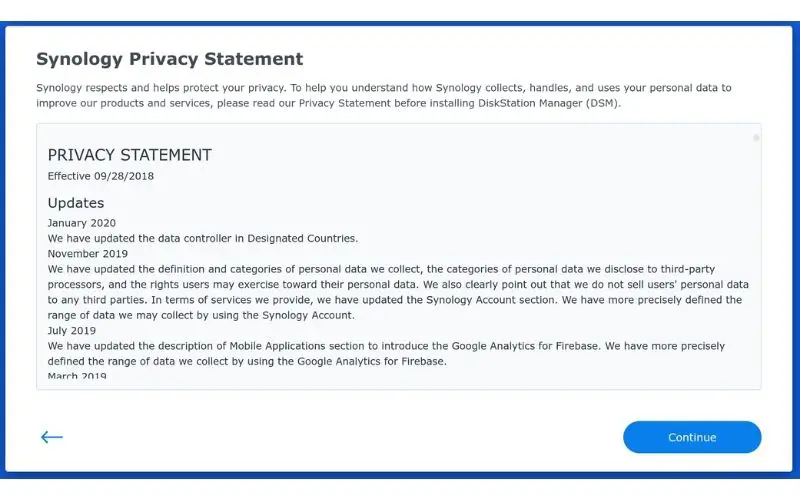
3. Check the box to agree to the terms and click “Next”.
4. Click on “Continue”.
5. Once your computer finds your Synology NAS, click “Install”.

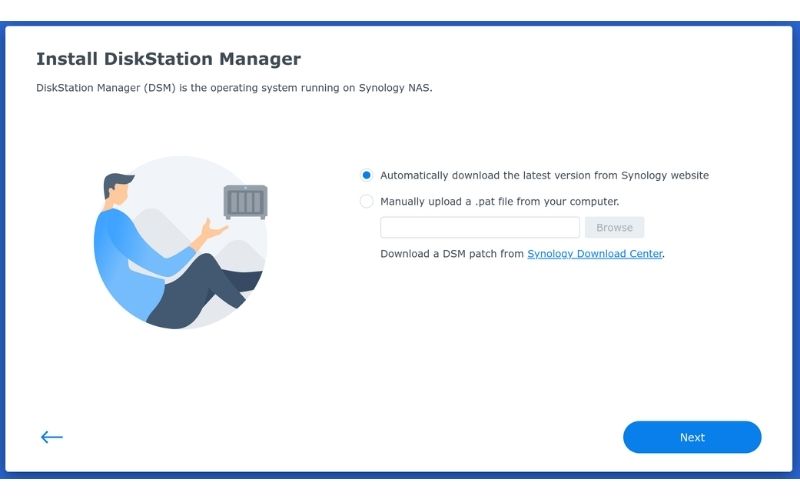
6. Leave your settings to automatically download the latest version of Synology’s DSM and click “Next”.
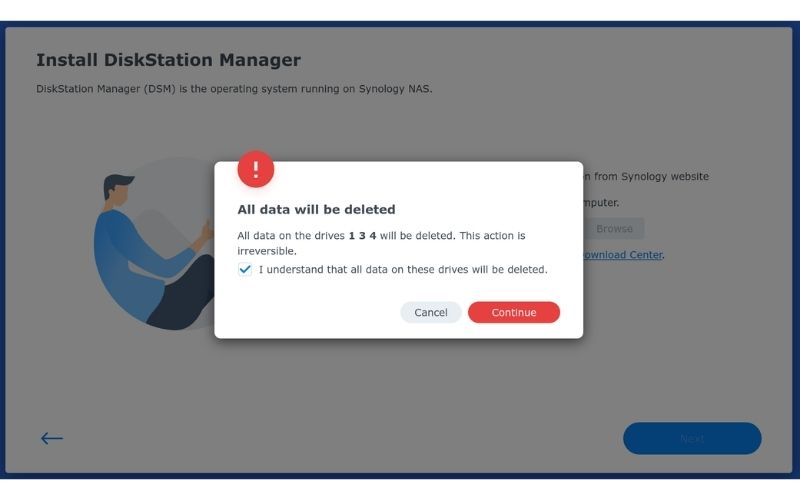
7. It’s going to warn you that all the hard drives installed will be irreversibly erased so don’t leave anything important in there. Check the agreement box and click “Continue”.
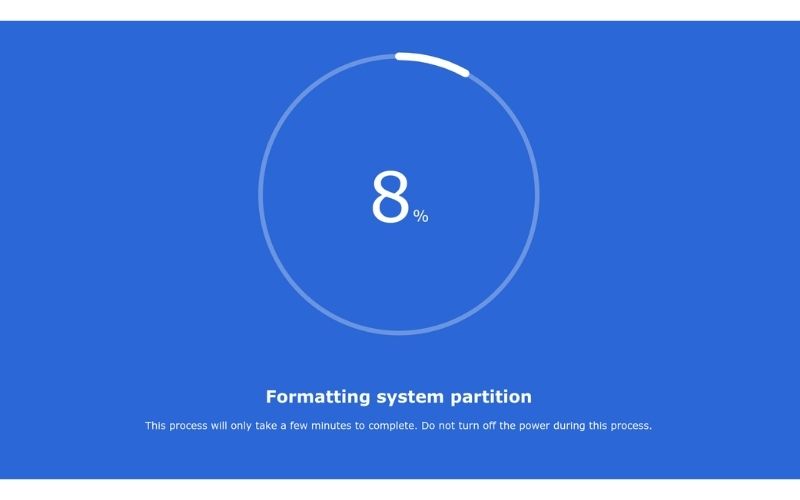
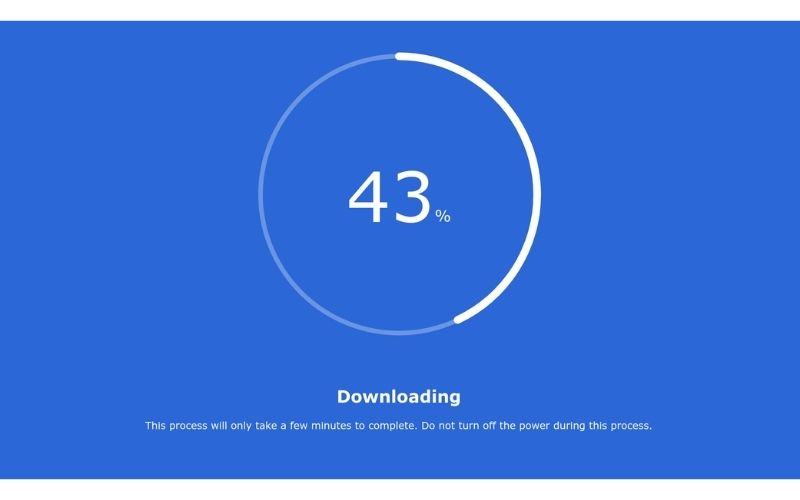
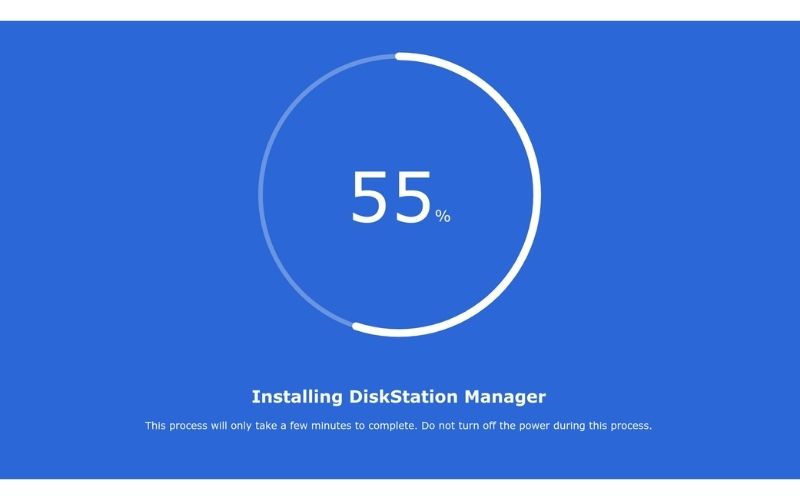
8. Your Synology will start to format your hard drives, then download and install your DSM.
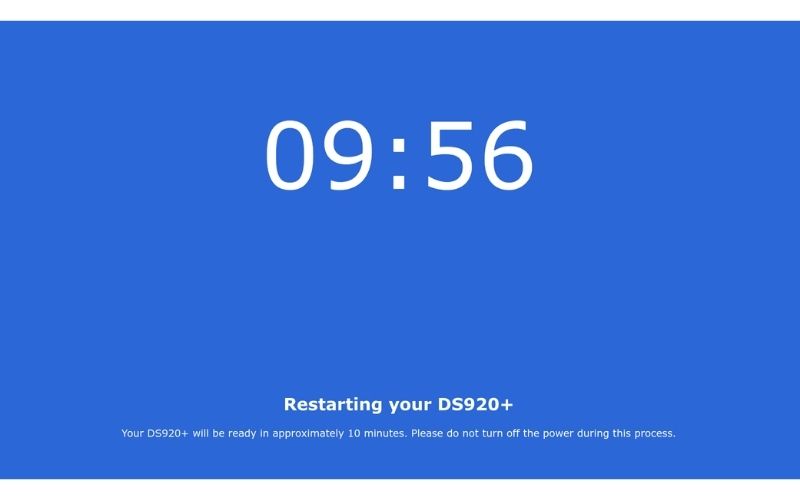
9. It’s going to count down from 10 minutes while restarting and preparing your Synology.
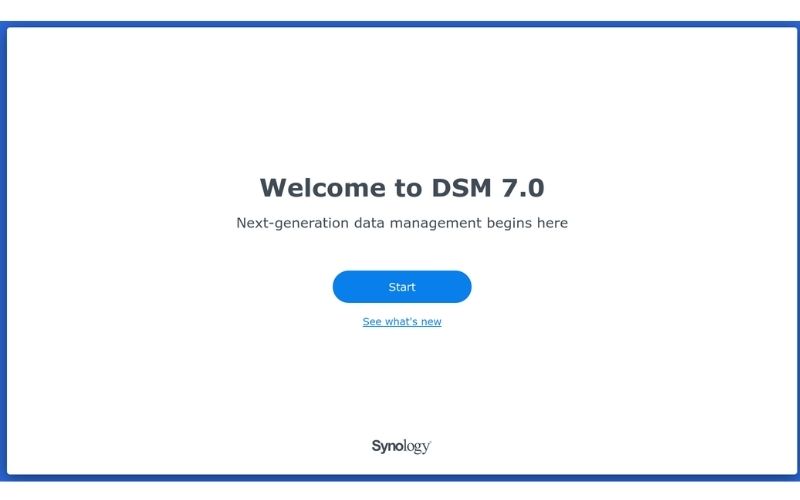
10. Click on “Start”.
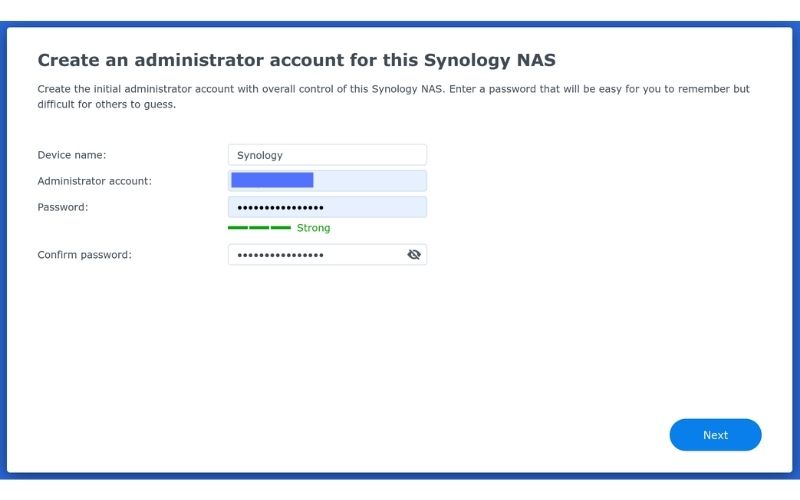
11. Fill in all necessary information like your device name, admin account, and passwords. Then, click on “Next”.
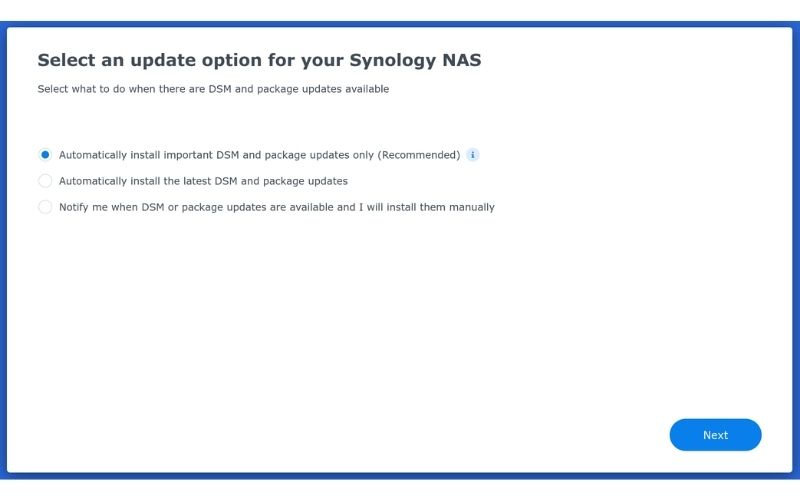
12. Keep the recommended automatic updates settings and click “Next”.
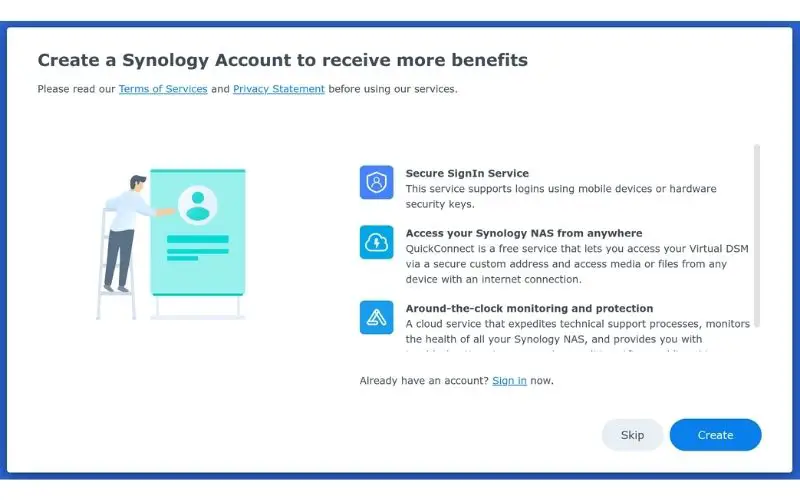
13. Create a Synology account or if you already have one, just click on “sign in”.
14. Create a QuickConnect ID so you can access your Synology from anywhere. You can make up any name for your URL here.
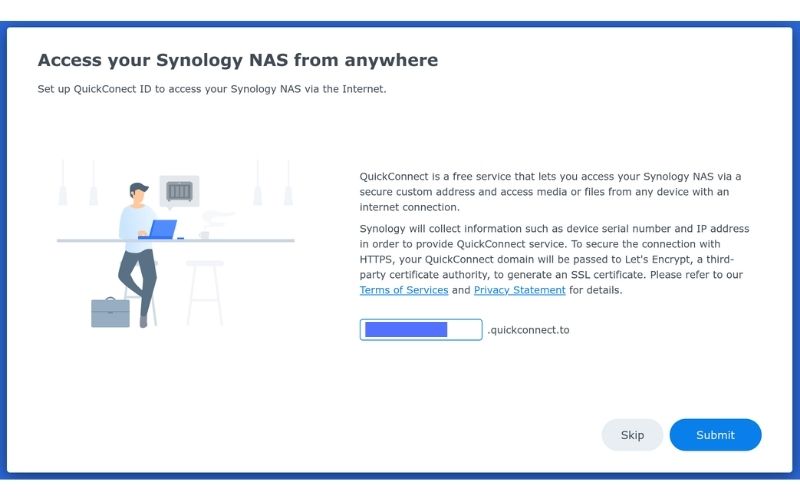
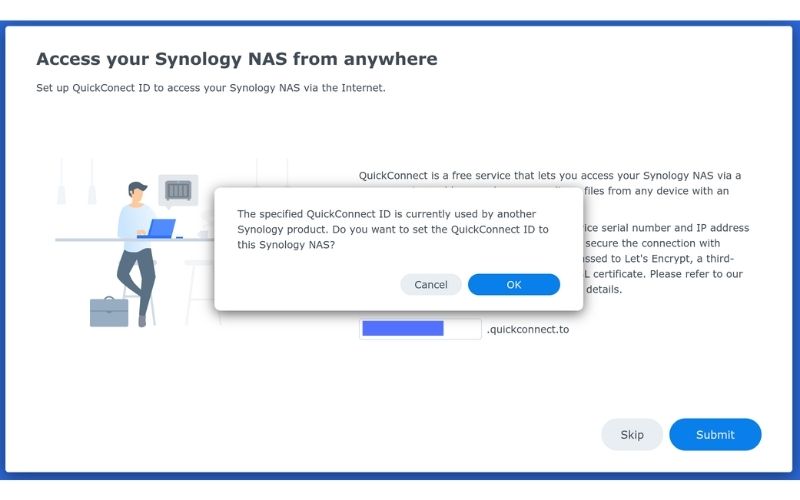
15. If you get an alert telling you that this QuickConnect ID already exists and is currently in use, you might need to “Cancel” and go modify it. If not, then continue on to step 16.
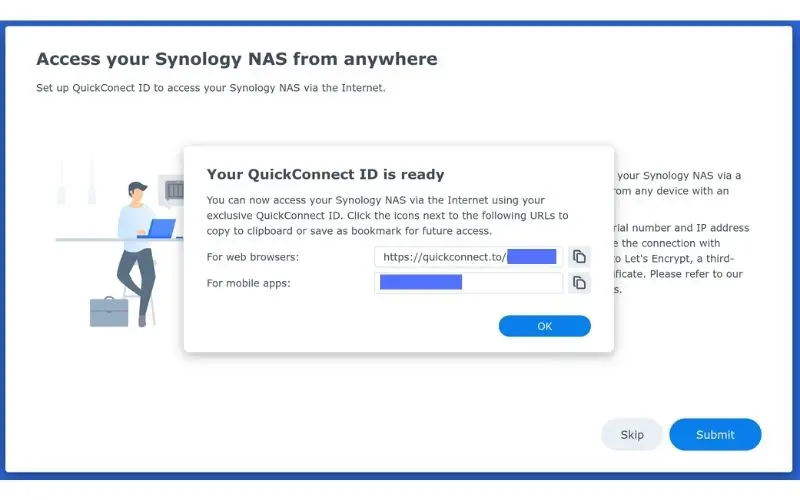
16. Copy and save your QuickConnect ID for your web browser and for your Synology mobile apps.
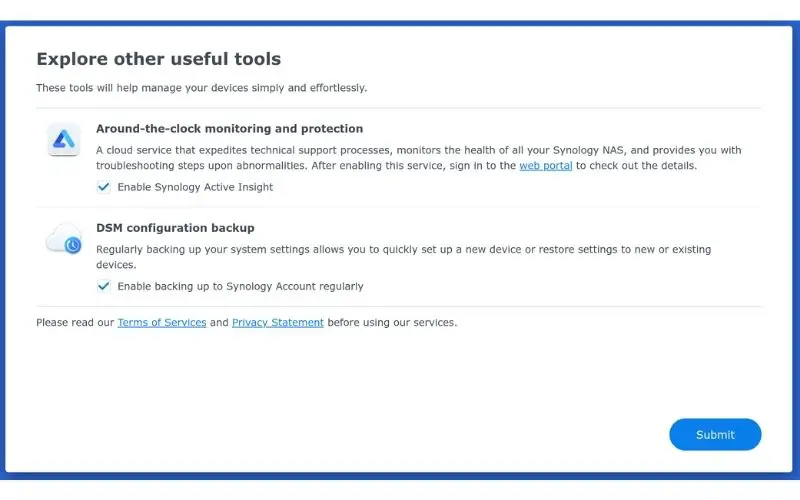
17. We highly recommend checking both the Synology Active Insight and Synology Account backup boxes. Then click “Submit”
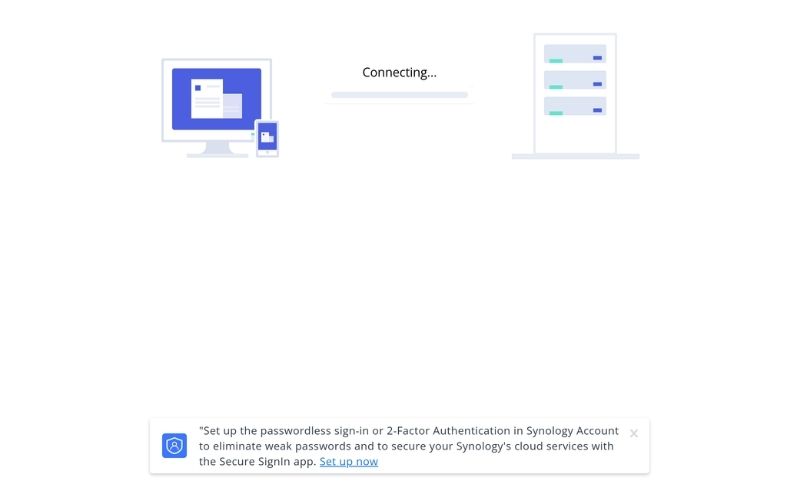
18. Your account will begin set up and connecting and it may take up to 5 minutes to complete.
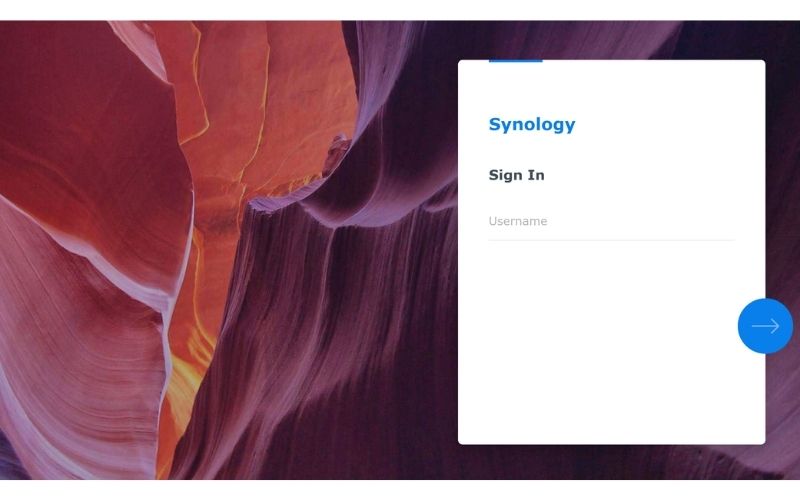
19. You are now on the sign in screen. Your username is the same as your Administrators account back in step 11. Then, click the blue circle button.
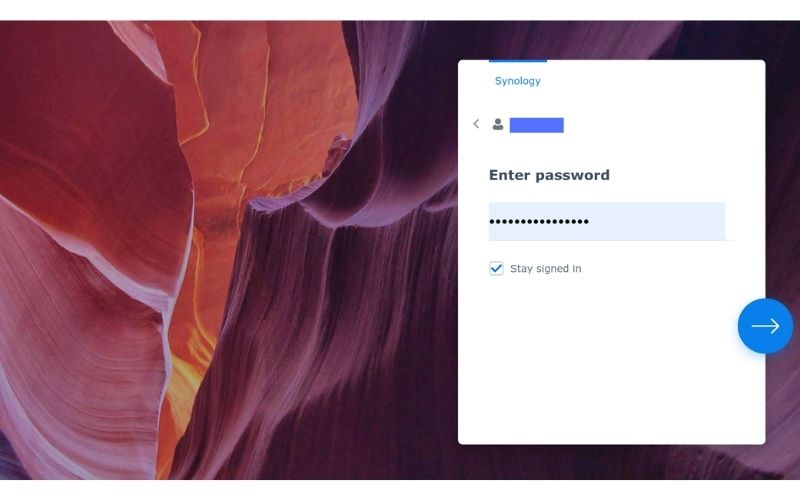
20. Type in the password you also created in step 11. We also recommend you check the Stay signed in box if this is the main device you’ll be accessing your Synology on.
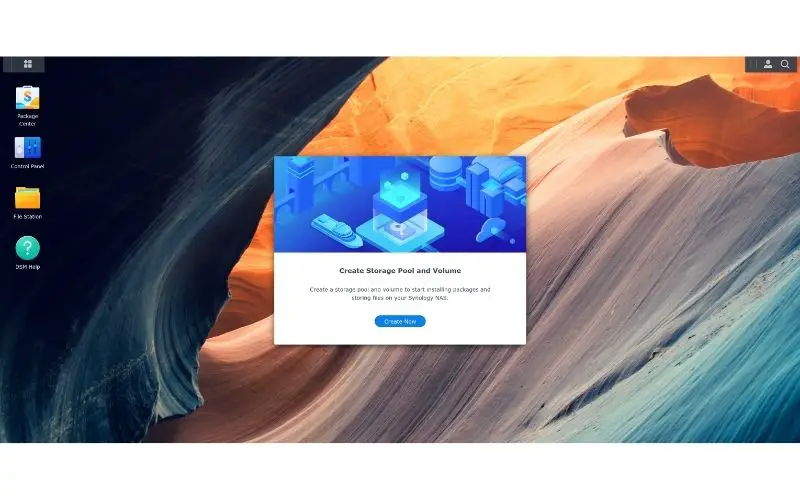
21. You’re now logged into your new Synology NAS.
Other interesting articles: