Table of Contents
If you’re sharing your Synology with other people, you’re probably worried that someone might be snooping around.
Yes, you’ve probably given them limited access to that specific folder but sometimes… things fail to work the way we want them to.
There’s a way to completely lock out and literally hide a shared folder from any suspected intruder.
Let me show you how.
How to encrypt, lock, and unmount a shared folder
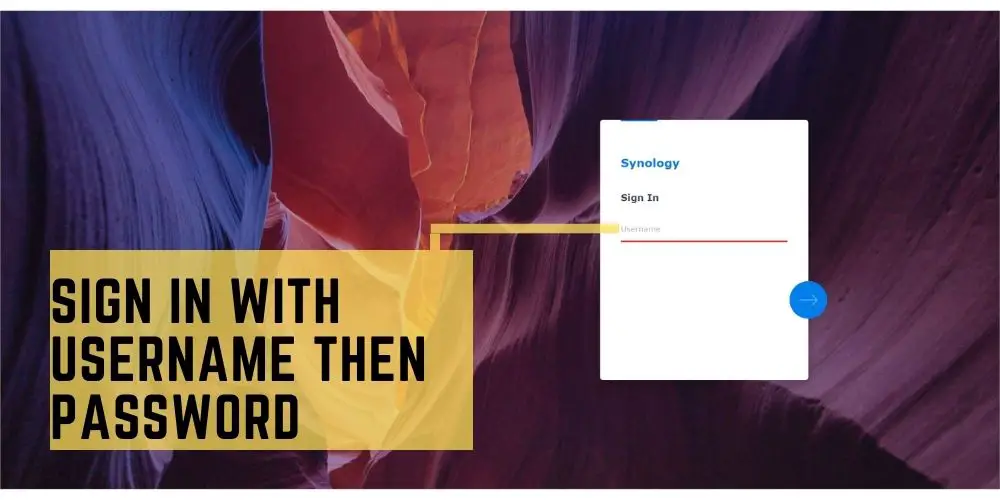
1. Sign in to your Synology desktop.
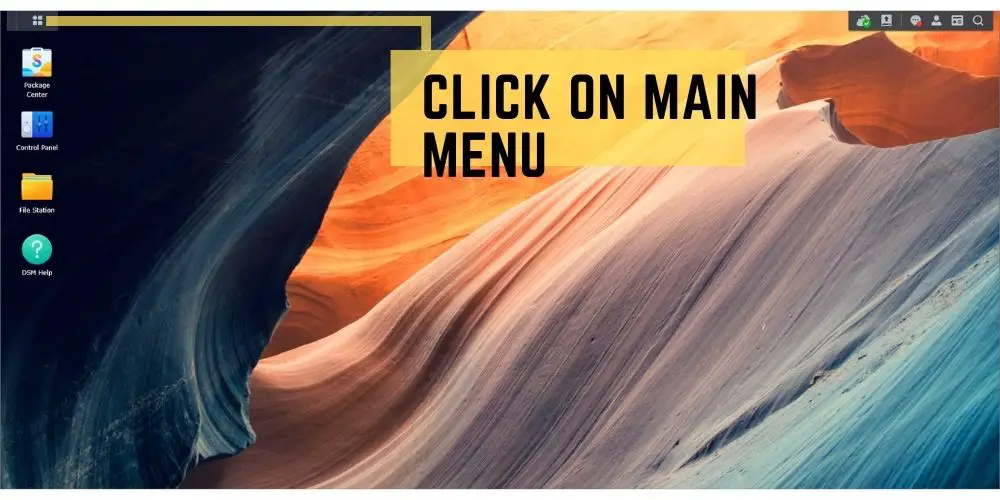
2. Click on Main Menu.
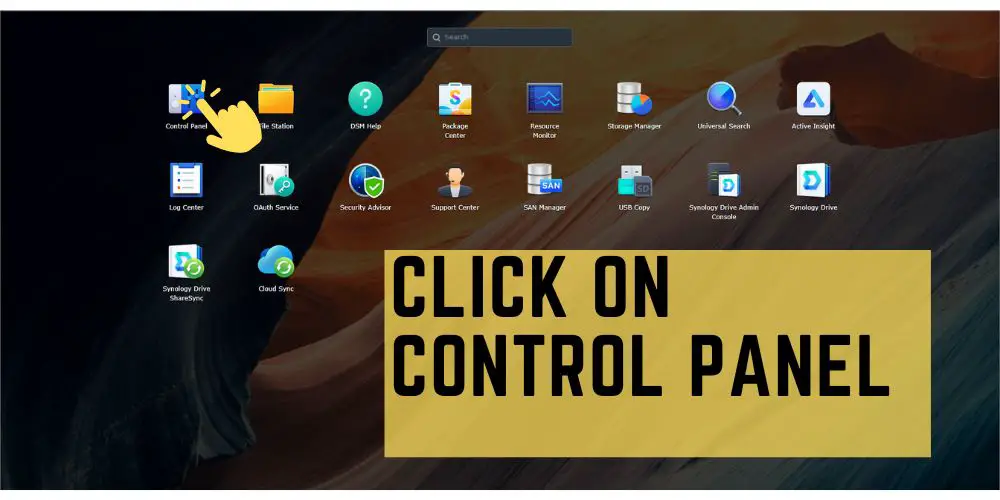
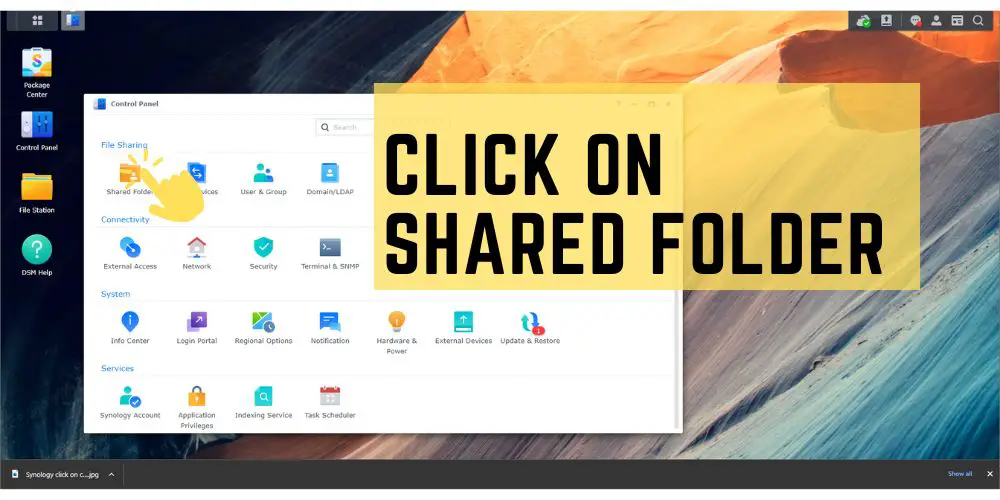
3. Open up Control Panel.
4. Open up Shared Folder.
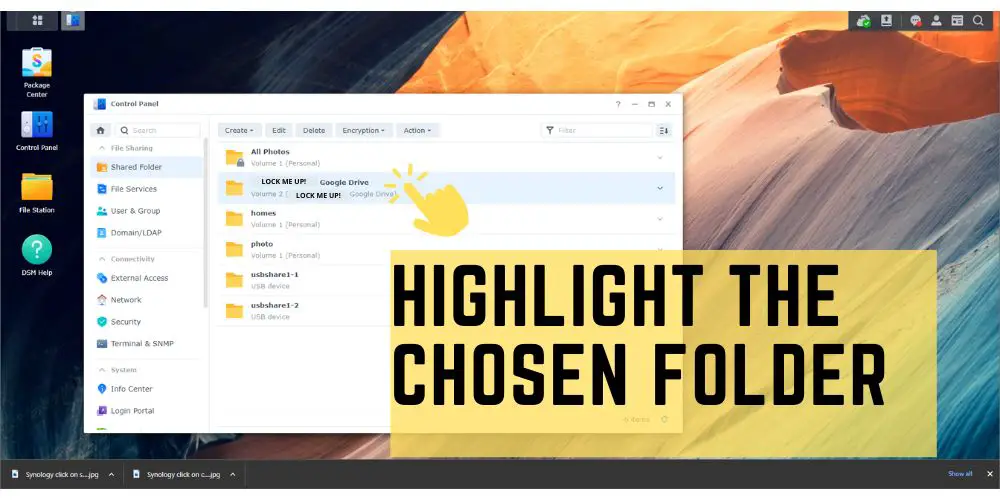
5. Highlight the folder you wish to encrypt and hide.
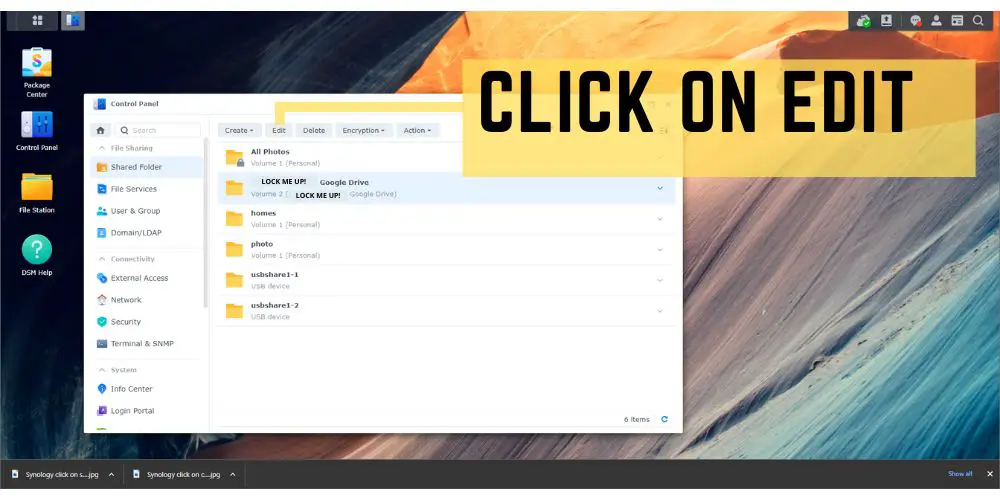
5. Click on Edit.
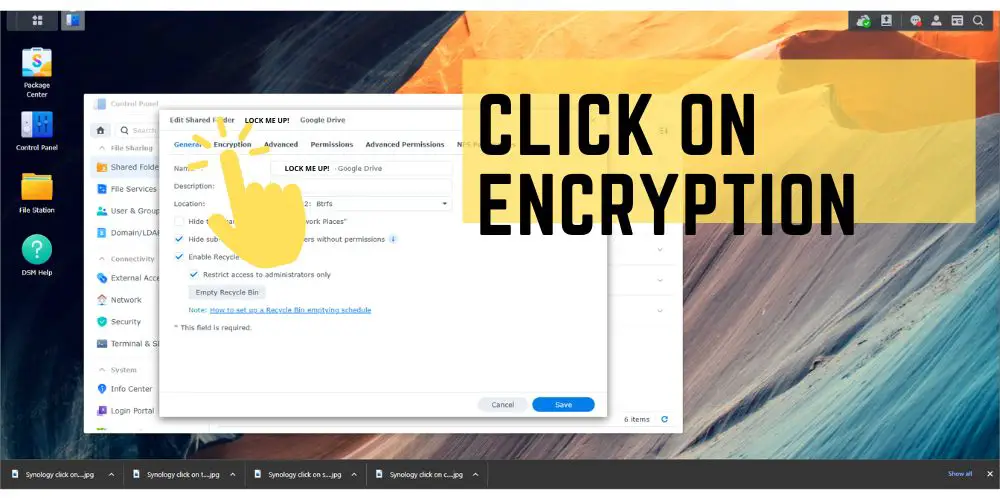
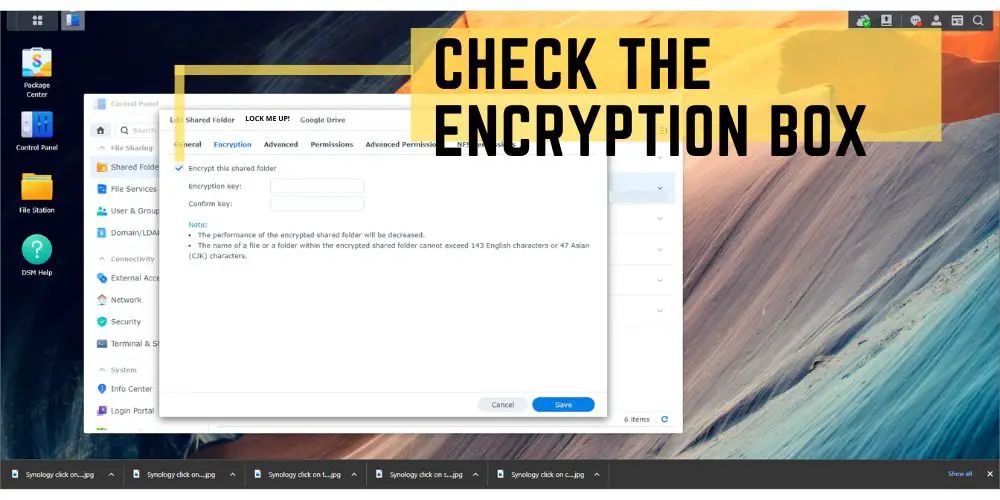
6. Click on Encryption.
7. Check the encryption box
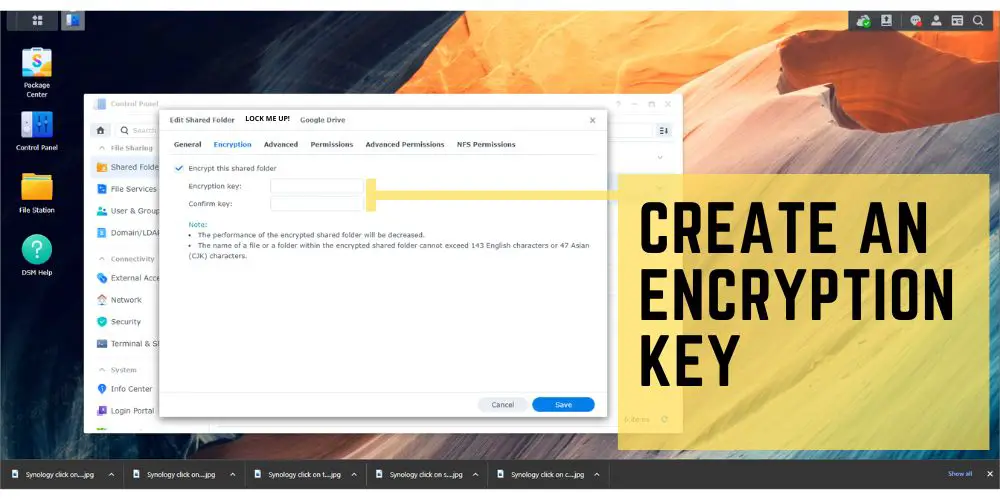
8. Create an encryption key (Don’t EVER forget this key!)
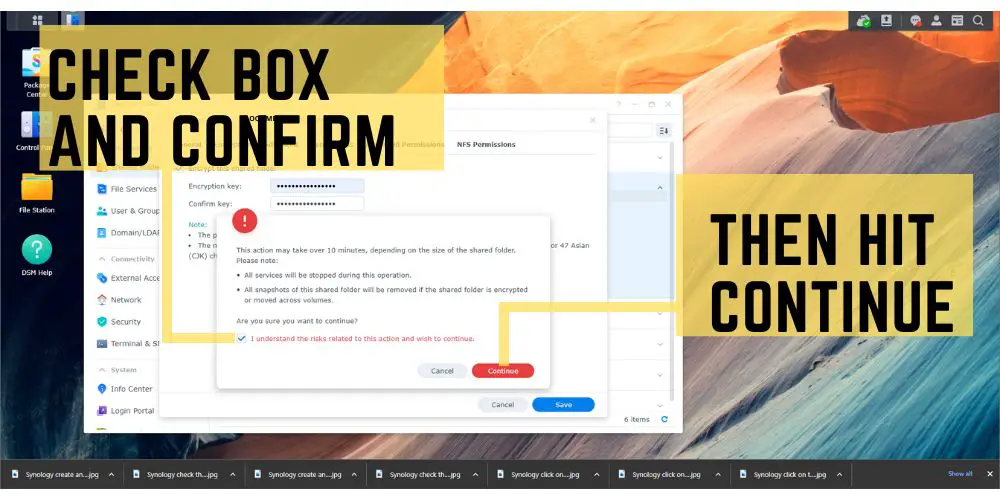
9. Check the understanding box to confirm and hit continue.
10. Click OK to download the encryption key (Don’t EVER lose this key!).
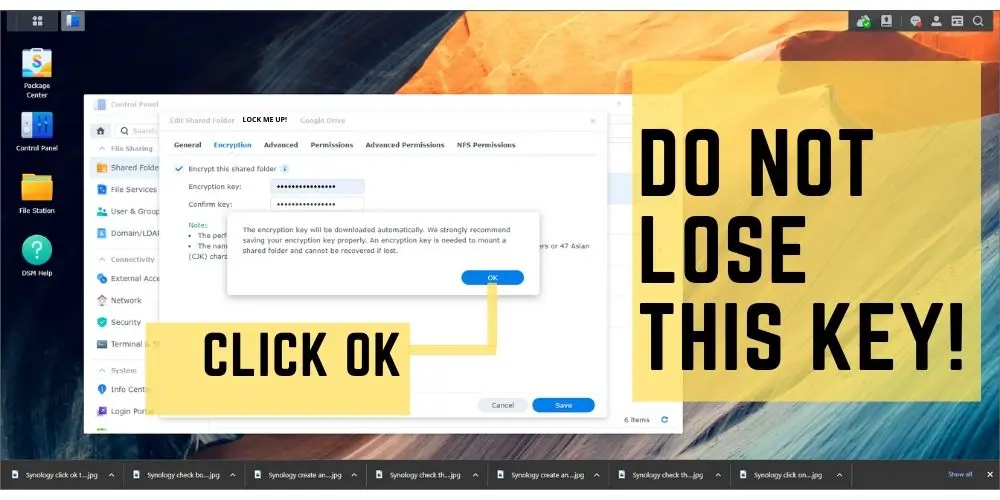
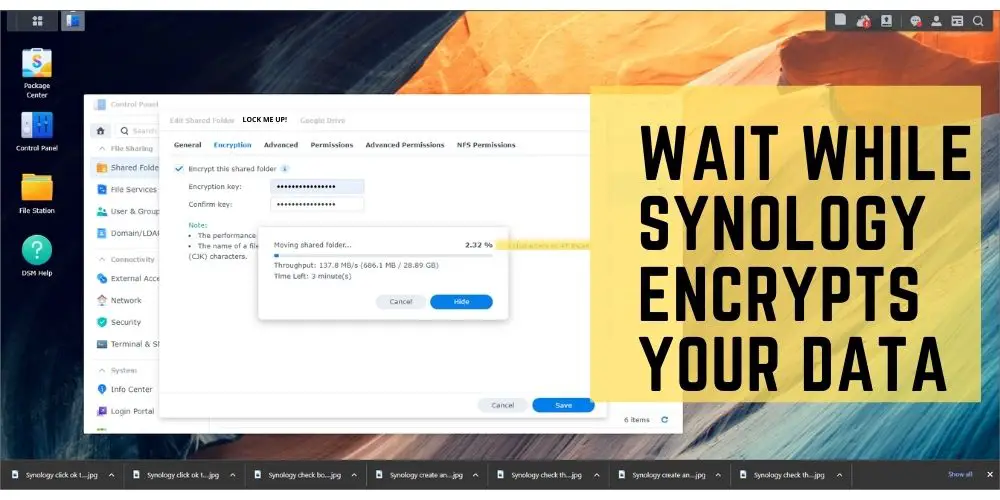
11. Synology will encrypt all the files in your shared folder (The length of time depends on the amount of data needed to encrypt).
12. Once encryption is done, your computer will automatically download the encryption key
Congratulations, you’ve successfully encrypted your hard drive. Again, do not lose this key!
If you ever forget the password you’ve created in step 8, then you’ll be able to use the encryption download instead.
How to mount and unmount your hard drive in Synology
There are a few things you’ll have to understand first.
If you’ve encrypted your shared folder, then you’ll see a lock icon right in front of it. It’ll either be closed or open.
Now, when it’s in the locked position, Synology interprets this as being unmounted. And when it’s in the unlocked position, Synology has this synonymous with the folder being mounted.
You can easily mount or unmount your shared folder by highlighting the encrypted folder, clicking on the encryption button above, and then selecting mount or unmount.
Usually, if it’s mounted, then the mount option will be greyed out, and if it’s unmounted, then the unmounted button will be greyed out. Obviously, there’s no need to unmount a folder twice (or mount a folder twice).
Whenever you unmount a shared folder, it will simply ask you to confirm the request and almost immediately unmount it and lock it up.
If you decide to mount the shared folder (aka unlock it), then you’ll need to either enter the encryption key that you’ve created in step 8 or import that encryption file that you’ve created.
Another thing to realize is that if you are syncing this shared folder with something like your online cloud storage (like Google Drive, iCloud, OneDrive, or Amazon), the sync will fail once you unmount it and will start working again the moment you mount it.
Other interesting articles: