Table of Contents
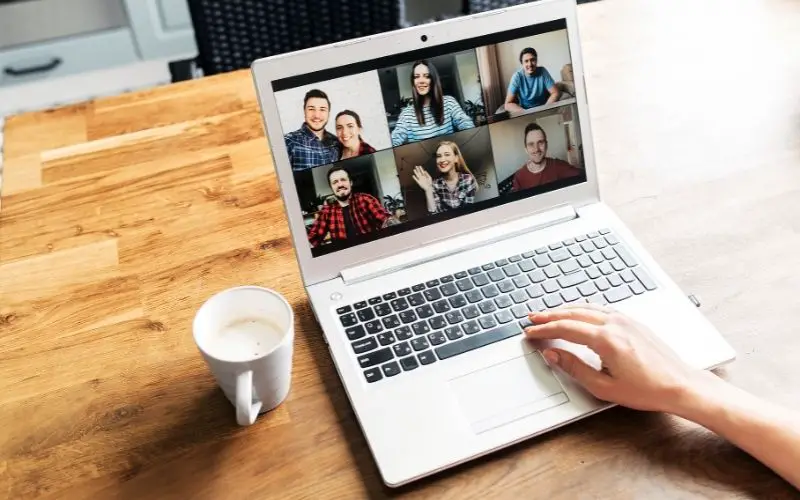
No one is physically attending meetings these days and that’s because there are actual tools out there that connect people from all over the world. With tools like Zoom, we are able to have face-to-face conversations with people living on the opposite side of the planet! How cool is that?
If you’re in the market for a device that can do this, you’ve probably come across Chromebooks. In this article I’m going to answer the question, can Chromebooks run Zoom.
Zoom is dedicated to its development and partnership with Google and ChromeOS users. They are heavily invested in progressive web apps which is something that runs really well on Chromebooks. In fact, the company has stated that it will continue to get better and better with every update.
If you’re curious about Zoom’s commitment to Chrome, don’t worry. They are committed to progressive web apps and their focus on ChromeOS. They understand the value that Chromebooks bring to the table.
How to Use Zoom on a Chromebook
In order to start using Zoom on your Chromebook, you just need to follow a few simple steps.
Open the Chrome browser. Navigate to zoom.us and register or sign in. If you haven’t done so, make sure you have Zoom installed from the Chrome web store. Click on Start a meeting on the Zoom website.
Now, you might run into a few complications or you might have some questions and that’s what I want to answer for you. Below, I cover some of the basics and FAQs that you might have when using Zoom for the first time.
What you’ll need
The only thing you’ll really need is a Chromebook and a decent internet connection. Indirectly speaking, you’ll also need a Google account to get started on your Chromebook.
Create a Zoom account
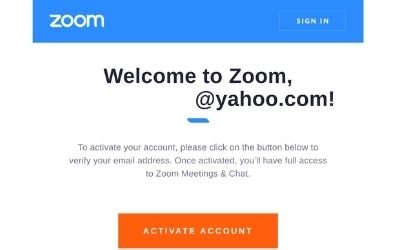
Go to the site zoom.us and sign up. You will also need to give them a birthday. Then, Zoom will require that you verify your email address by sending you an email to confirm.
The confirm button from your email will take you to another screen where you can put in your name and password.
Go ahead and start a meeting.
Download the Zoom Chrome extension

A new window is going to pop up and you’re going to be required to download and install the Zoom extension.
The install button will take you to the Chrome web store where you can download the extension.
The downloading and installation should only take a few seconds.
Host a meeting
After set up, if you go back to the zoom.us website, you’ll notice at the top of the page there’s a link called Host A Meeting. This link will allow you to create a meeting making you the administer or the host.
If you hover over this link, you’ll see 3 options.
- With Video Off
This starts the meeting with your camera off. Think of this as similar to a normal phone call where only your voice can be heard. At any time, if you want to show your face or your screen, you can choose to do so. - With Video On
This opens up the meeting with your camera on. That means almost immediately, your audience or members will instantly see your face when they come on. And of course, you can turn this off at any point in the meeting. - Screen Share Only
This begins the meeting with your screen. In some cases, it may initially look identical to “With Video Off.”
Join a meeting
Joining a meeting requires that you have the Meeting ID or the Personal Link Name to that meeting. Normally, the host would schedule this by email. But if you can’t find it, you’ll have to reach out to the host or administrator to ask for it.
Don’t worry too much about the H.323/SIP room system button below. It’s simply a standard form of communication. It’s a standard signal that allows Zoom to connect with other communication hardware like Cisco, Tandberg, Polycom, Lifesize, Sony, Huawei, TandyHD, and more. This way you can use them in a room allowing for 100s of participants and 1000s of viewers at a time.
Scheduling a Zoom meeting on a Chromebook

Now, scheduling a Zoom meeting on a Chromebook comes with an extra step from the obvious. You’re going to need to download another Chrome extension called Zoom Scheduler.
Once installed, to make it easier to access, go up to the top right corner of your Chrome browser and click on the puzzle icon. You’ll see the Zoom scheduler icon in the list and you can pin it to your extensions list so that you can easily access it.
Click on the Zoom scheduler icon and you’ll be asked for your credentials to access and create a schedule. It’s the same exact account and password you used with zoom.us.
Click on Schedule a meeting and you’ll quickly be brought to some pre-settings to fill out. Once you’re done, it will automatically route you to your Google Calendar where you can finish making some edits, adding members, and sending out the invites.
All the information (including ID and password) your viewers and participants will need is prefixed inside the calendar schedule.
What to Do When Zoom Isn’t Working on Chromebook
- Check your connection
A good start to test your connection is to try to open up the browser and see if you can navigate to a specific webpage. It can be any website. If the webpage opens properly, then it might not be your internet connection.
Another good method is to check to see your internet speed. For that, go to Google search and type in “internet speed test.” Click on the very first result which shows a button called “Run speed test.” Zoom requires a minimum of at least 3Mbps to work properly. - Uninstall new apps and extensions
There may be other extensions or apps that might interfere with Zoom. You may have to uninstall each one, one by one, and test Zoom between each uninstall to find out which program is the culprit.
It may also help if you restart your Chromebook after each app uninstall. Once you find the culprit, you can try to install all the previous apps that were wrongfully uninstalled before.
In rare cases, there may be more than one app that can interfere with Zoom. - Reset Your Browser Settings
It is possible that maybe your video or audio settings can be screwed up and maybe that’s causing Zoom not to load up properly.
My recommendation is, rather than search for all the settings that could’ve been wrong, go ahead and reset your browser settings.
If it comes down to it, the last resort would be to completely powerwash your Chromebook. Luckily, Chromebooks retain the basic settings of your account on the cloud. However, if you have files saved locally on your hard drive, you might want to back that up.
A Powerwash (factory reset) is fast compared to other machines like macOS and Windows. - Update ChromeOS
In some rare cases, you might need to update your Chromebook firmware.
Go to the bottom clock and open up the quick settings. Select the gear icon. Go to the left panel of the new screen and click on About Chrome OS. Finally, click on “Check for updates.”
How to record a Zoom meeting on a Chromebook
If you’re a host and you wish to record a Zoom meeting, you must have a paid or upgraded account.
As a paid member, Zoom unlocks a new record icon at the bottom of your Zoom window. The recording will automatically upload into the cloud.
The bottom line
Businesses nowadays are not like they used to be. With the development of technology, you have a lot of options available to you. This is also the case with meetings.
One type of meeting that is popular is Zoom meetings. Zoom offers a lot of benefits that you can’t find in other options such as easy setup and fast responsiveness.
Zoom calls on Chromebooks are incredibly straightforward. With the ease of setup, you can also use Chromebooks to hold meetings with these clients.
FAQ
Where can I find my Zoom ID and password while in a Zoom meeting?
While in a Zoom meeting, go to the Participants button at the bottom. A right-side window will open. Click on Invite. Another window will pop up and you’ll see the meeting ID at the top and the Meeting Password at the bottom right.
My microphone and/or speaker don’t work on a Zoom meeting.
While in a Zoom meeting, there’s a microphone icon at the bottom left. Click here and make sure you use the correct hardware. If that doesn’t solve the issue.
Try going into your Chromebook’s native audio settings. Start by clicking on the clock at the bottom right of your Chromebook. You’ll see at the bottom of the quick settings that there’s a speaker icon. Click on the arrow to open up the Audio settings. Make sure both Output and Input are using the correct hardware device.
Ultimately, make sure both the Zoom app and Chromebook audio settings are pointing to the correct devices.
How do I message someone in the group privately?
In order to message someone privately, you’ll need to use the Chat feature located at the bottom of your Zoom app window. If the host is on a Chromebook and his/her chat window is not currently open, then the Chat icon will blink.
If someone messages some else who’s using a mobile device, the message will show up as a notification bubble on their mobile phone.
Other interesting articles:
